

[embed]https://vimeo.com/113942348[/embed]
This week, we learned distinguish different materials and fasteners, we should use two materials to make our works this week.
I want to make a colorful button box for my PCOM project- something like color palette to let user to choose color they want.
At first, I want to use colorful buttons to make the box, but it's difficult to find push button in 7 different colors. Then I thought about putting colorful acrylic board on the button top to represent different colors, and I asked ben, he said it's not a good idea because users may press acrylic board in different corners and the force out of balance may cause the button nondurable. Therefore, I decided to put buttons and acrylic board in different location, avoid them to affect each other, and put them in parallel to show each button represent specific color.
I bought colorful acrylic board from canal plastic center, I hesitated to buy transparent one or static one, then I decided to put some LED under the transparent Acrylic board which can show if users has pressed it successfully.


I designed box at first, use three layers to build these box (or color palette). First layer is the 5*24*1/4 pine wood board to set acrylic board and buttons, second layer is 4*24*1/8 basswood board(leave 0.5inch each side to put front and back board which the thick is 0.5 inch) and put super LEDs on it , and the third layer is a piece of 4*24*0.5 pine wood(use the same wood with front and back board in this box.). This layer is to contain all circuit, breadboard, and Arduino board.

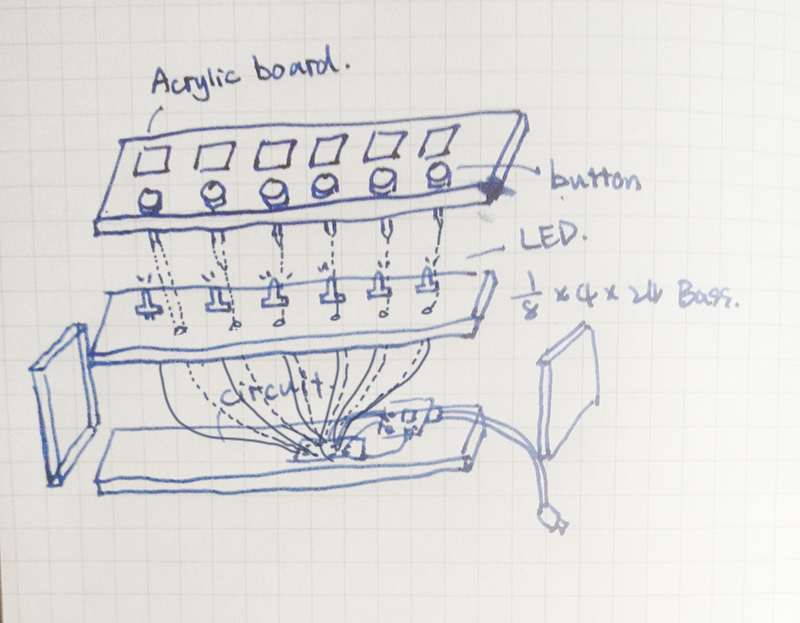
First, I used laser cutter to make hole to put buttons and acrylic board. the acrylic board is 2*2, and the smallest diameter of button is 0.62inch , so I leave the acrylic hole to 1.9*1.9 square, button hole is o.64inch diameter circle

Second, I used Super glue to attach acrylic board on the pine wood (no plastic glue and wood glue, they didn't work in this case) , and put seven buttons on the board. Forgot to take photos in process..
Third, I drilled two row of small holes in parallel, one is to put LED in it, and one is to put buttons' wires through it.


IMG_6409_1Fourth, put all the circuit in the third layer.
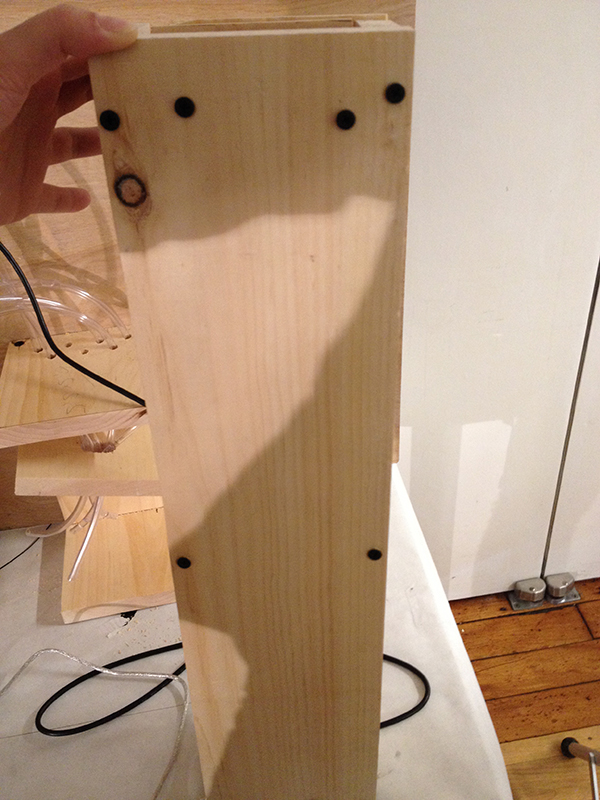
Fifth, I used Mad saw to cut the front and back wood for the box.
Sixth, put wood glue on wood board's each side , arrange them together, use clamp to make them attach in tightness.Then, used fasteners to attach piece of wood board together, make the box easy to change and fix in the future.

Here it is!
